
Super Mario RPG is a fairly easy game overall, but it does sport a few challenging spots throughout. As your journey nears its conclusion, you’ll come to Bowser’s Keep where you’ll eventually stumble upon six doors that contain difficult courses behind them. If you’re feeling a bit stuck at this location, here’s everything you need to know about how to complete each of the six door challenges in Bowser’s Keep.
How to complete all six door challenges in Bowser’s Keep
Note that the challenge you receive behind each door is totally random, so there’s no way to guarantee a specific challenge. But while you only need to complete four of the courses, we recommend hitting all six to ensure that you get all of the useful items contained within.
Puzzle Course No. 1

This puzzle course asks you to clear three rooms of brain-focused tasks.
First Room
The first room will involve a quiz wherein you are asked multiple questions about your adventure. The questions are randomly chosen from a pool of around 40 and should all be fairly simple if you’ve been following along with the story.
Second Room
In the second room, you are required to quickly count how many barrels are in the corner of the room and then choose from three options. You need to do this twice. Once again, the number of barrels is random.
Third Room
Upon reaching the third room, you need to pay attention to what the different characters tell you about their placement in a race, then choose the order in which you believe they placed.
Reward
You’re rewarded with a Rock Candy after completing this course.
Puzzle Course No. 2
This puzzle course asks you to clear three rooms of brain-focused tasks.
First Room
In the first room, you need to avoid being the person who hits the 21st coin. You can hit the box up to four times per turn, so just keep counting and making sure Dr. Topper hits the final coin.
Second Room
The second room features a collection of buttons where four will depress each time you jump on one. From left to right and bottom to top, jump on the following buttons.
- Press the third button on row 1
- Press the first button on row 2
- Press the fourth button on row 3
- Press the second button on row 4
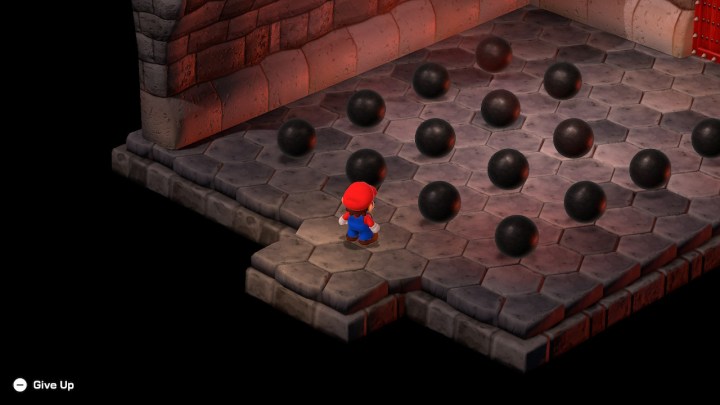
Third Room
In the third room is the hardest of all the puzzles, which demands you to kick the balls here to destroy the one beside it until you leave a single ball standing. From left to right and button to top, kick the balls in the following order.
- Kick the third ball on row 2 upward
- Kick the first ball on row 2 to the right
- Kick the first ball on row 3 to the right
- Kick the fourth ball on row 4 to the left
- Kick the second ball on row 1 upward
- Kick the fourth ball on row 1 to the left
- Kick the first ball on row 1 to the right
- Kick the second ball on row 4 downward
- Kick the fourth ball on row 4 to the left
- Kick the first ball on row 4 to the right
There will only be a few balls left now. Continue with these final steps.
- Kick the only ball on row 4 downward
- Kick the only ball on row 1 upward
- Kick the right ball on the left ball on row 3
- Kick either remaining ball onto the other
Reward
You’re rewarded with a Rock Candy after completing this course.
Action Course No. 1

This action course grants you 10 tries to clear three rooms.
First Room
The first room features an invisible path that is only revealed when jumping, so just keep hopping up and down to make your way through the maze.
Second Room
You may find the second room the toughest, as you need to jump across some moving platforms that can be a bit difficult to land on.
Third Room
In the third room, you have to jump over some barrels being through by Donkey Kong. This shouldn’t prove too challenging once you nail the timing.
Reward
You’re rewarded with the Super Slap for Princess Toadstool after completing this course.
Action Course No. 2
This action course grants you 10 tries to clear three rooms.
First Room
The first room requires you to time jumps across moving platforms in a straight line, so it shouldn’t be too much trouble.
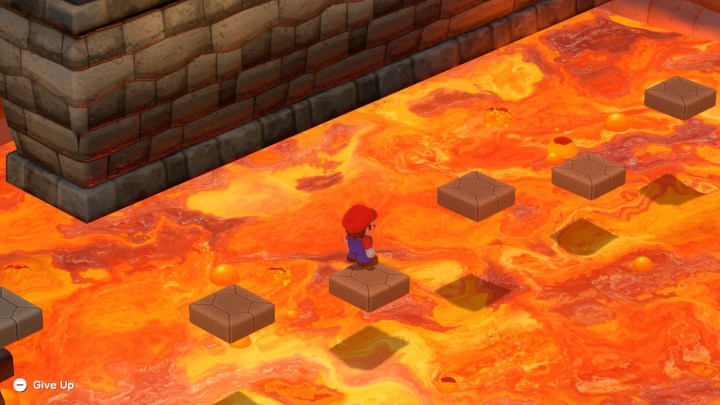
Second Room
In the second room, you need to jump on the ball by the door and roll to the end of the area while evading some Bob-ombs. Jump through the door at the end.
Third Room
The third room features two platforms. Stand on one and the other will spin around you. When you jump and land on the spinning platform, it will stop and cause the previous platform to begin circling you. Continue this process to the end of the area.
Reward
You’re rewarded with the Sonic Symbol for Mallow after completing this course.
Battle Course No. 1
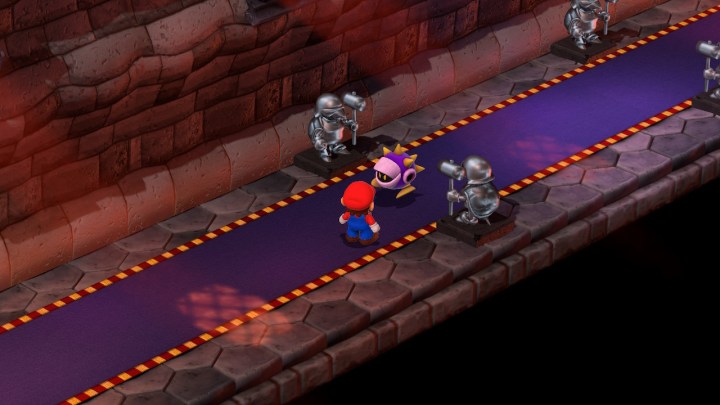
This battle course pits you against various enemies that are easy to defeat. Bring your best fighters and go at it.
Reward
You’re rewarded with the Drill Claw for Bowser after completing this course.
Battle Course No. 2
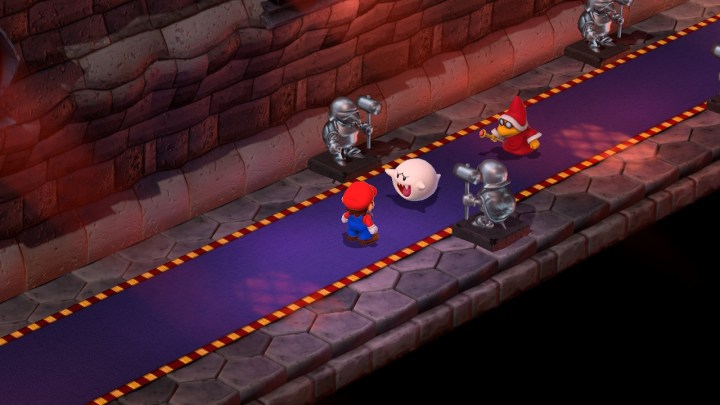
This battle course pits you against various enemies that are easy to defeat. Bring your best fighters and go at it.
Reward
You’re rewarded with the Star Gun for Geno after completing this course.
Editors' Recommendations
- Fortnite Peter Griffin guide: how to unlock the skin and beat the boss
- Best Nintendo Switch deals: consoles, games, and accessories
- Where to find the Ghost Medal in Super Mario RPG
- Super Mario RPG Wedding Hall guide: Where to find Peach’s crown and other accessories
- Where to get a snack for the Frog Sage in Super Mario RPG


